HOW TO GROW RADICCHIO
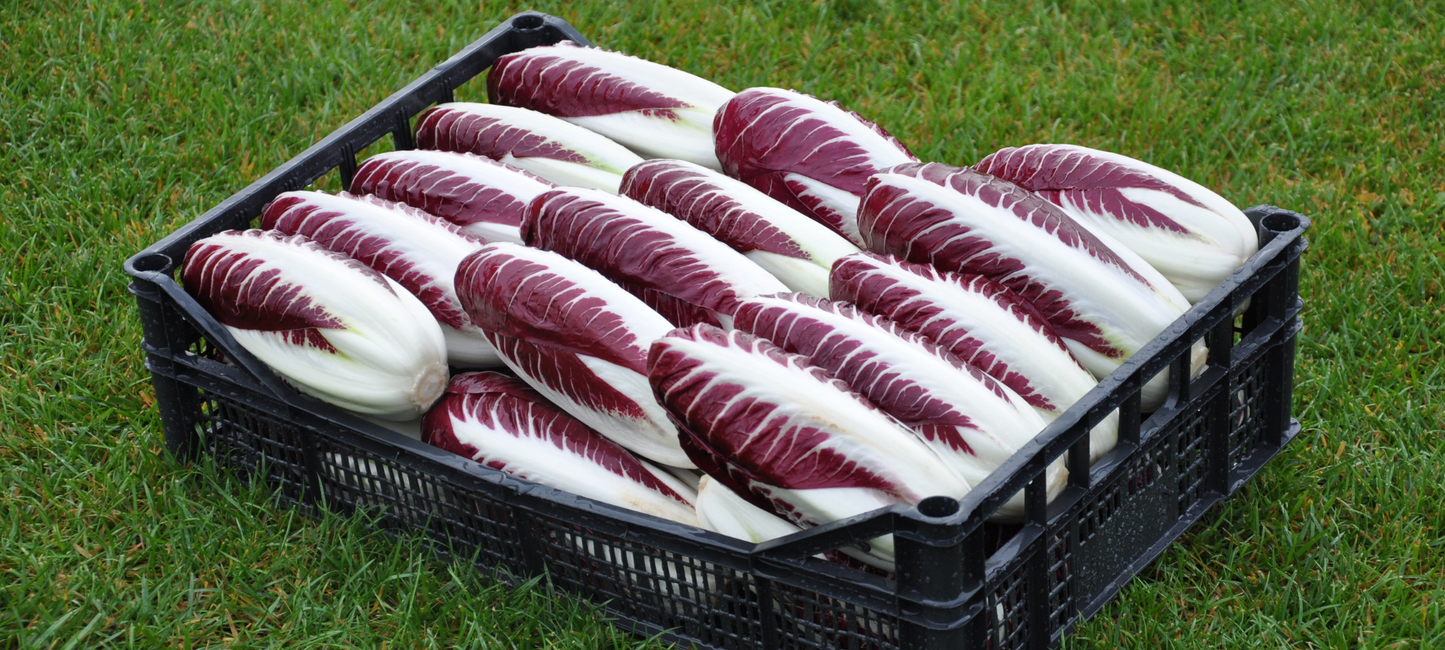
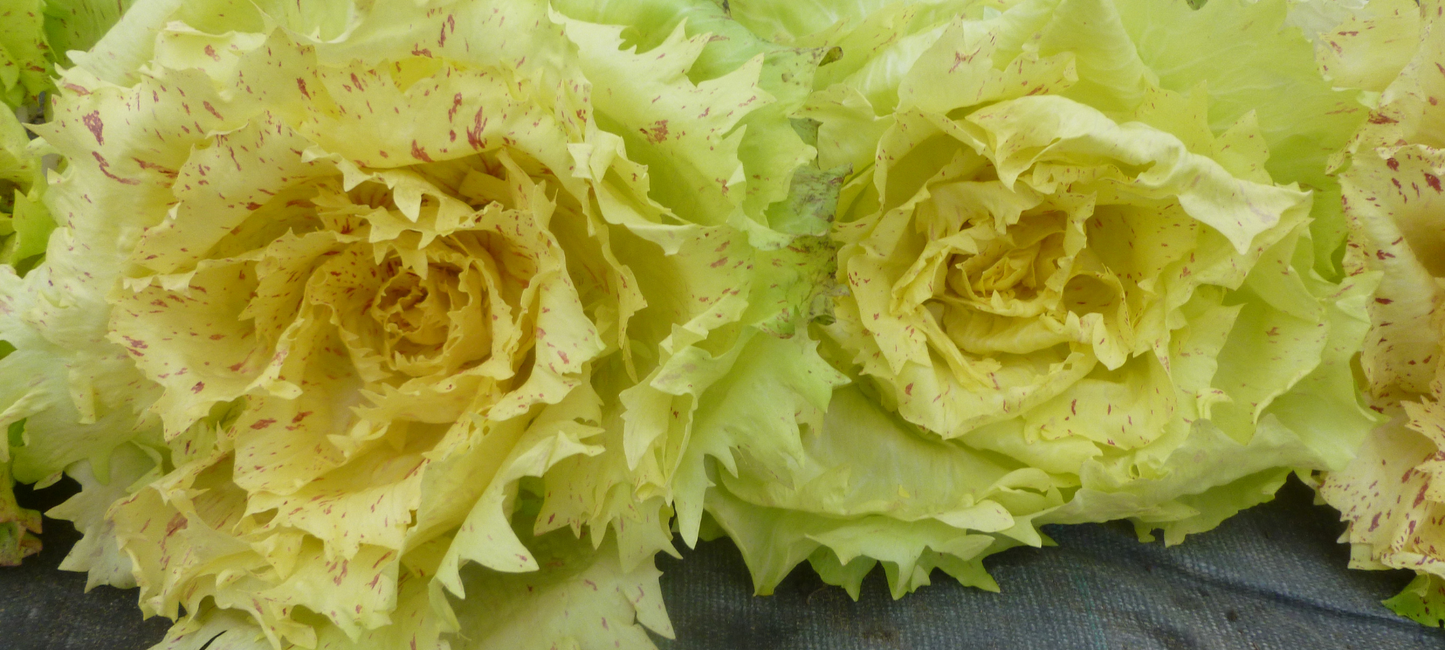
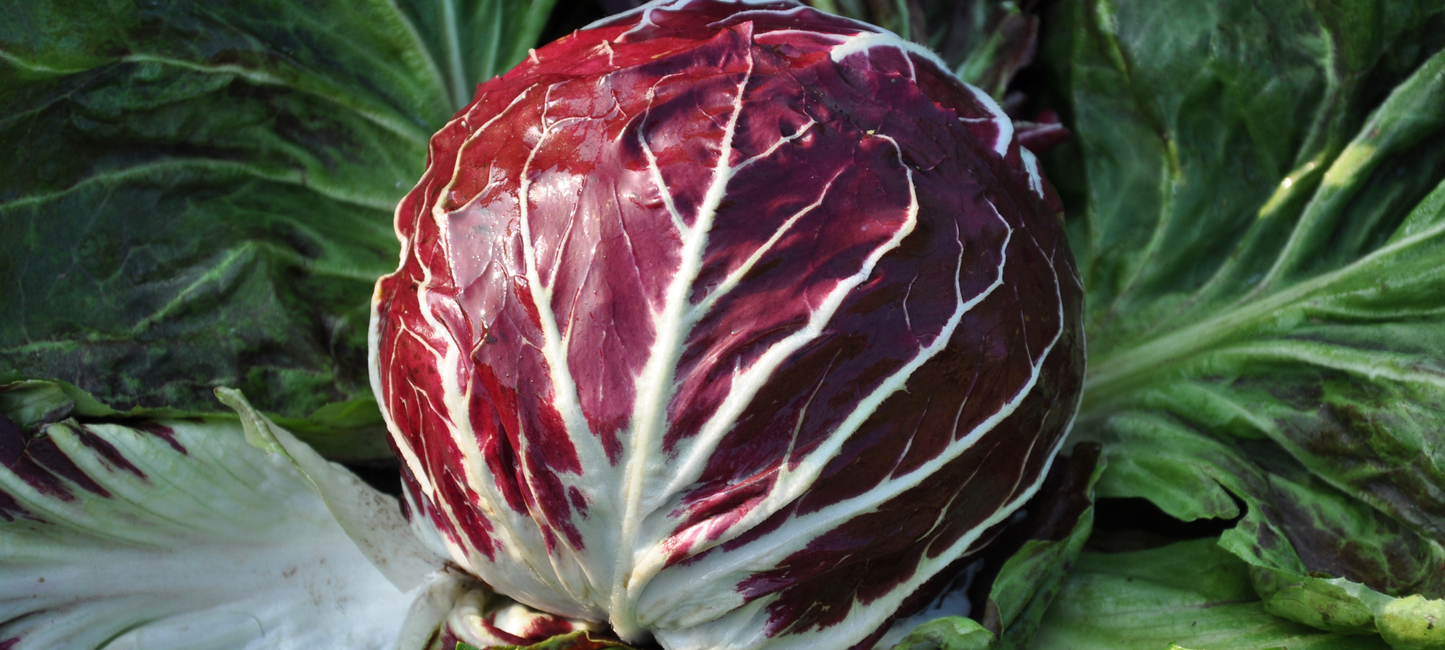
A Complete guide to How to Grow Radicchio, a plant with unique charm and distinctive flavor. Radicchio is a vegetable with red, pink, variegated, or white, crispy leaves, known not only for its slightly bitter taste but also for its numerous nutritional benefits. Whether you are an experienced gardener or an enthusiastic beginner, this guide will walk you through the best techniques for successfully growing radicchio.
In these pages, we will explore everything you need to know to achieve a bountiful and high-quality harvest: from selecting the soil and preparing it, to choosing the most suitable varieties, sowing them, and caring for and harvesting the finished product. With practical advice, useful tips, and answers to frequently asked questions, we will provide you with the tools needed to turn your garden into a small radicchio oasis.
Get ready to discover the secrets of this delectable vegetable and experience the pleasure of growing a fresh and flavorful product at home.

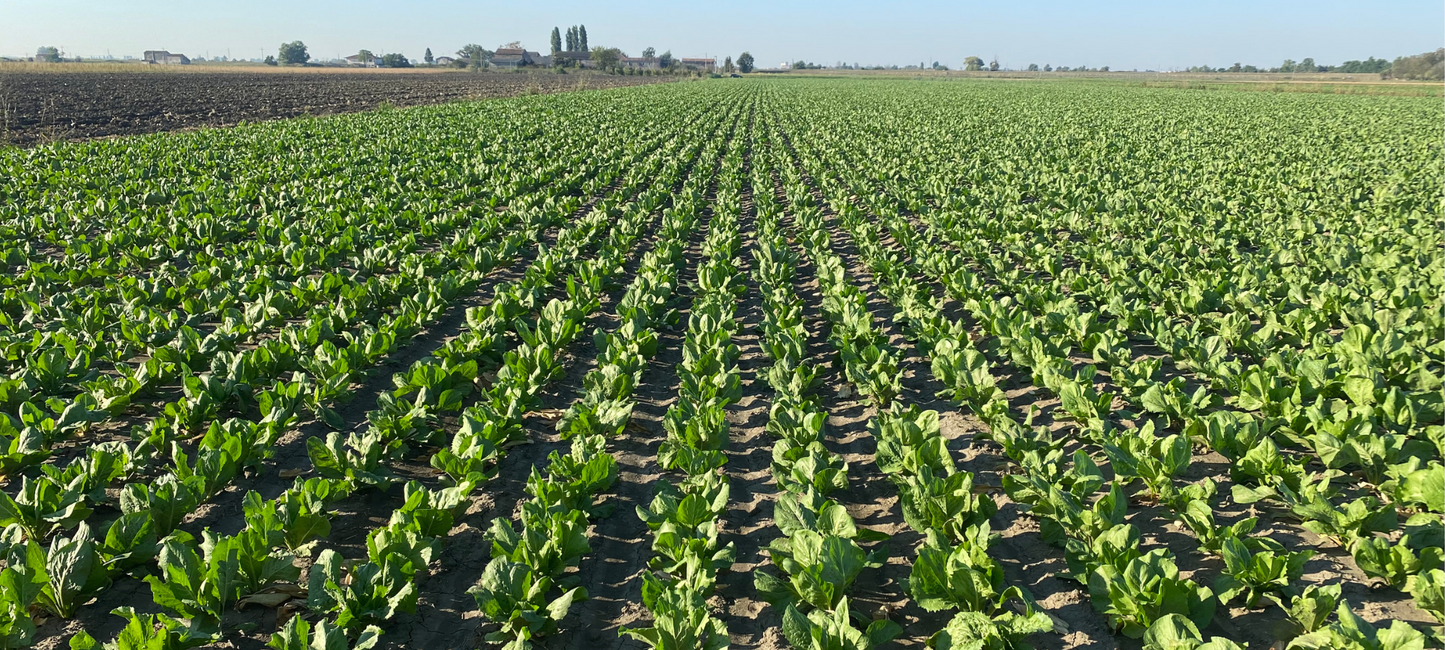
Land preparation, sowing and weeding, proceeding with the cultivation and harvesting of radicchio.
Crop rotation
- Succession to straw cereals is recommended. Strictly suggested straw harvesting in order not to compromise the soil fertility (carbon/nitrogen ratio).
- The succession of green cover crops of brassicas such as rocket, horseradish and mustard with nematostatic or fungicidal effects is considered excellent.
- Avoid sowing and transplanting in plots that have had particular phytosanitary problems in the previous year.
- Avoid succession to alfalfa, sugar beet, taproot crops and crops that have the same phytosanitary framework (lettuce, endive, fennel, etc.), solanaceous plants (potato, pepper, tomato).
- Pay attention to the persistence of the active herbicide substances used for the previous crop.
- In terms of time, it is suggested to return with the same crop (chicory/radicchio) to the same plot after 4 years.
Soil preparation
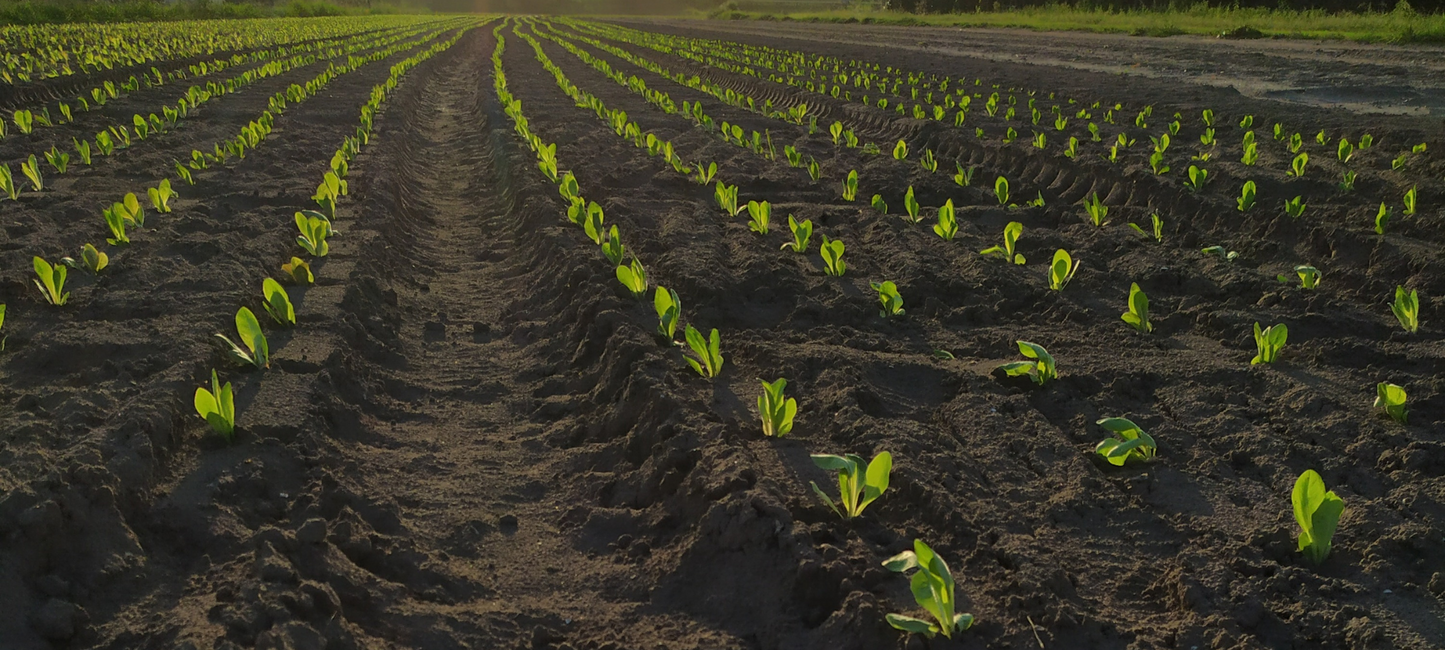
The main tillage activity can be represented by plowing or ripping or, alternatively, by spading to a depth of 30-35 cm. One or more refinement harrowings will follow in order to create a perfectly refined and leveled cultivation bed. In soils with drainage difficulties, ripping may be convenient, to be carried out before the main processing, to facilitate water drainage and prevent stagnation phenomena. Always to ensure the drainage of both rainwater and excess irrigation water, especially in land with drainage difficulties, it is recommended to arrange the land in high beds.
Fertilization
Fertilization must be based on two important aspects:
1) Precise knowledge of the characteristics of the soil (supply of nutrients).
2) The needs of the crop (removals).
Fertilization must also guarantee minimal environmental impact, both in terms of quantity and method of distribution over time. It is therefore advisable to favor organic fertilization and, for nitrogenous fertilizers, interventions divided over time to minimize losses of fertilizers through leaching.
PLANT
Direct sowing
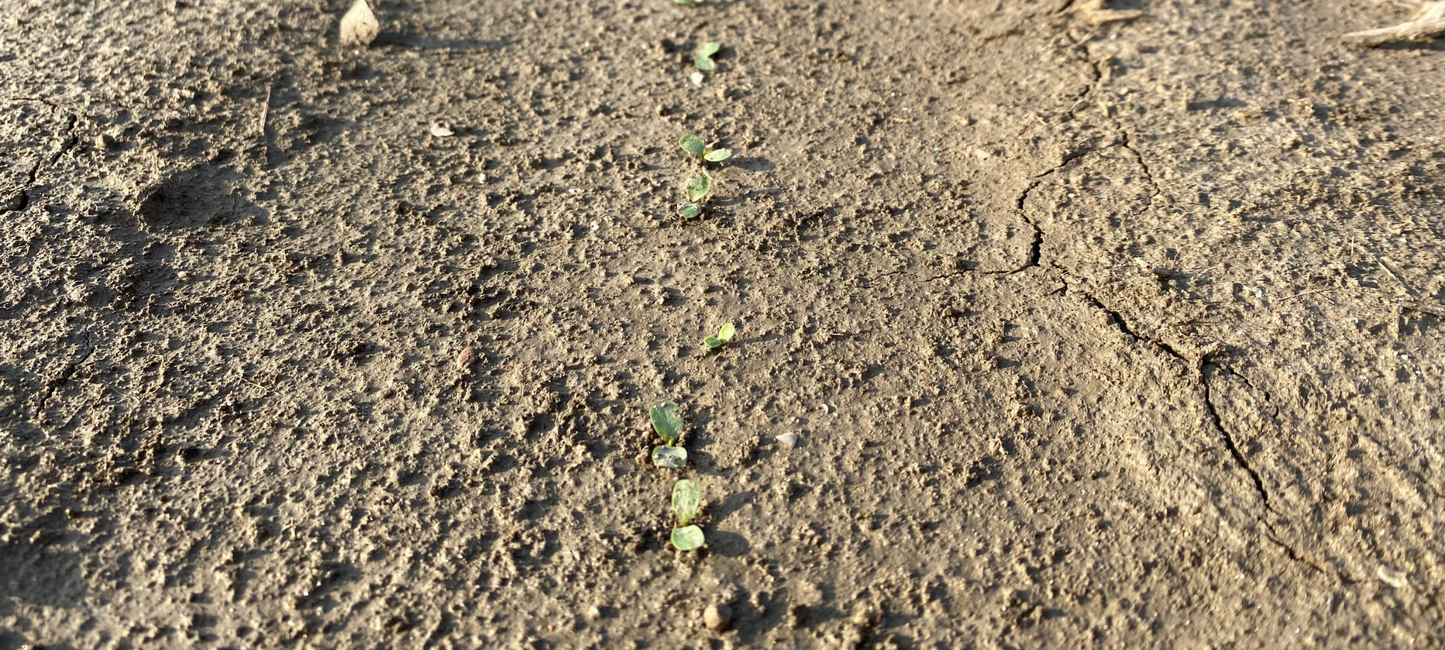
Anyone who decides to resort to direct sowing must take maximum care in preparing the seedbed, which must be perfectly leveled and refined in order to allow regular distribution of the seed, which must be placed at a depth of no more than 5mm. Sowing is carried out with precision pneumatic seeders, operating with distances between the rows of 40-45 cm and placing the seed on the row at approximately 7 cm, using quantities of seed varying from 0.5 to 0.8 kg/ha. After emergence, with plants with 4-5 true leaves, definitive thinning will be carried out along the row at a distance of 30-40 cm, in order to reach the optimal density which varies according to the earliness of the product.
Transplant
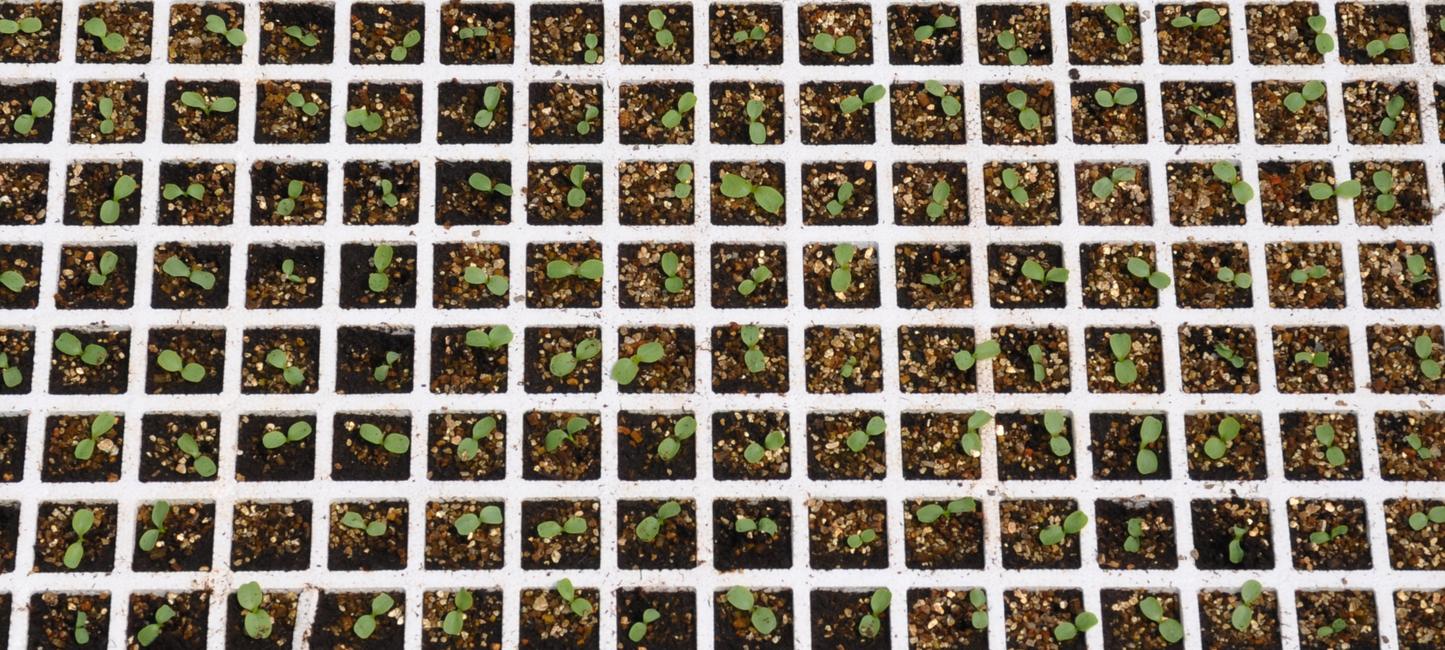
The ideal stage to transplant seedlings grown from a nursery, is 3-4 true leaves. The seedlings to be transplanted from the nursery must have a uniform green vegetative part, well developed and white roots and be free from any form of animal or plant parasites (mold, bacteria, insects, etc.). For planting spacings and crop densities, the notes already reported for direct sowing apply. When planting it is very important that the collar remains above ground. After transplanting, more or less abundant irrigation is recommended, depending on the season and the nature of the soil, to make the soil adhere to the root, avoid dehydration of the soil and promote rooting.
Recommended cutivation densities
Select Density
- Early 9 pp/m²
- Average 8 pp/m²
- Late 7 pp/m²
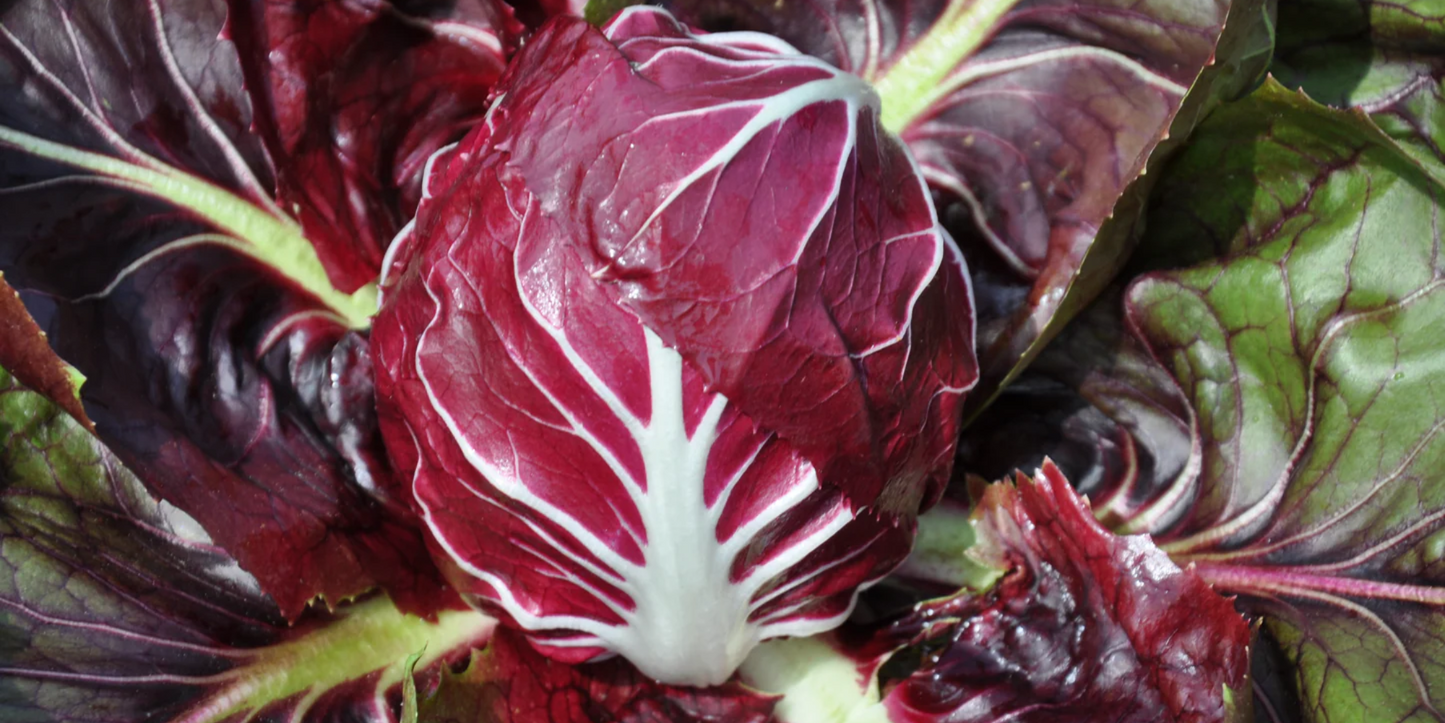
Instructions for sowingin the nursery
1) Make sure to keep the humidity level constant and controlled until the emergency.
2) If you have a germination chamber, use it by setting the temperature at 25-28°C.
Note: Chicory has optimal germination at temperatures above 25°C. Ensure this temperature is maintained until seedling emergence.
3) Avoid, if possible, exposure to temperatures above 35°C and below 24°C.
4) The plant is ready for transplanting after 23-25 days at the stage of 4-5 true leaves.
Be careful never to transplant a seedling older than 30 days.
Note: Be careful not to transplant a seedling that is TOO old and/or STRESSED (>30 days), as this FACILITATES BOLTING!
5) Pay attention to attacks by phytoagi (spiders, aphids, thrips and moths) and, in the event of an attack, intervene promptly.
6) Pay particular attention to cleaning/disinfecting containers, choosing the substrate and watering.
For more information, read our How To Grow Radicchio in a Nursery Zine
Weed Control
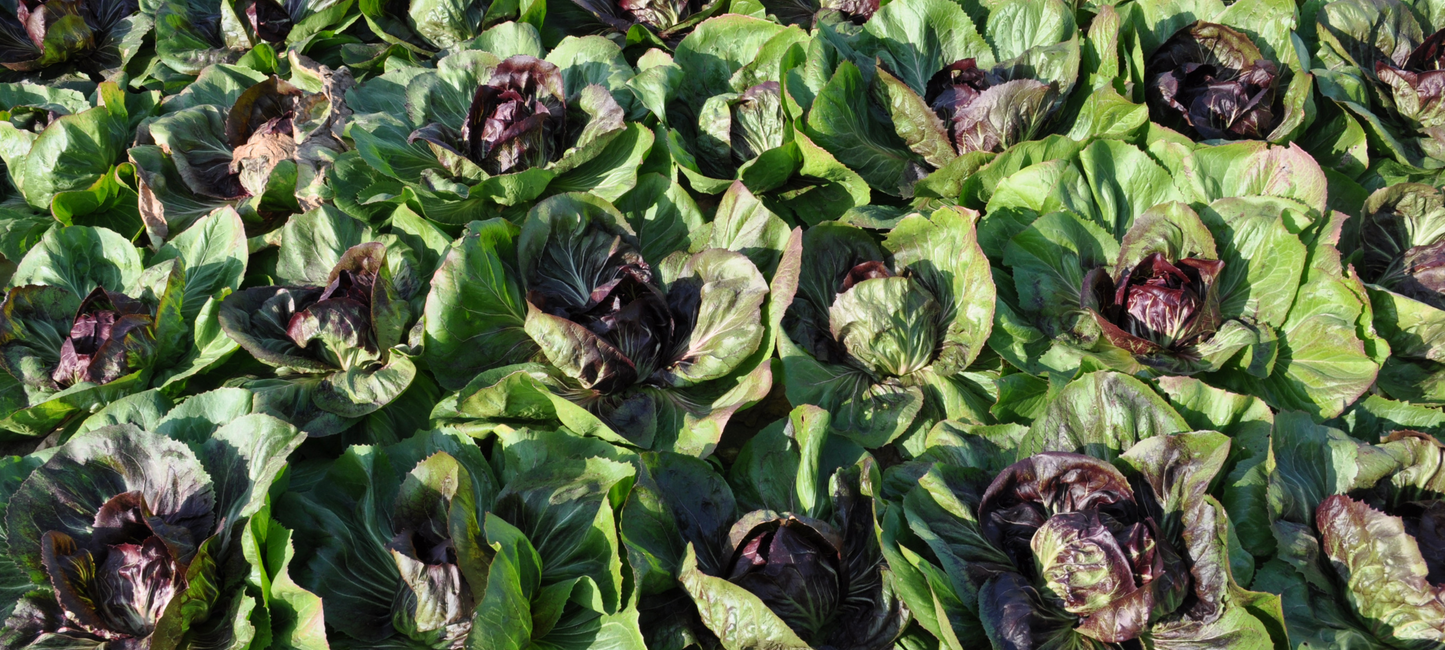
Weed control must be carried out by intervening on contained infestations and on young plants. To limit the use of chemical products as much as possible, it is advisable to use some agronomic practices together with them such as false sowing and weeding.
Irrigation
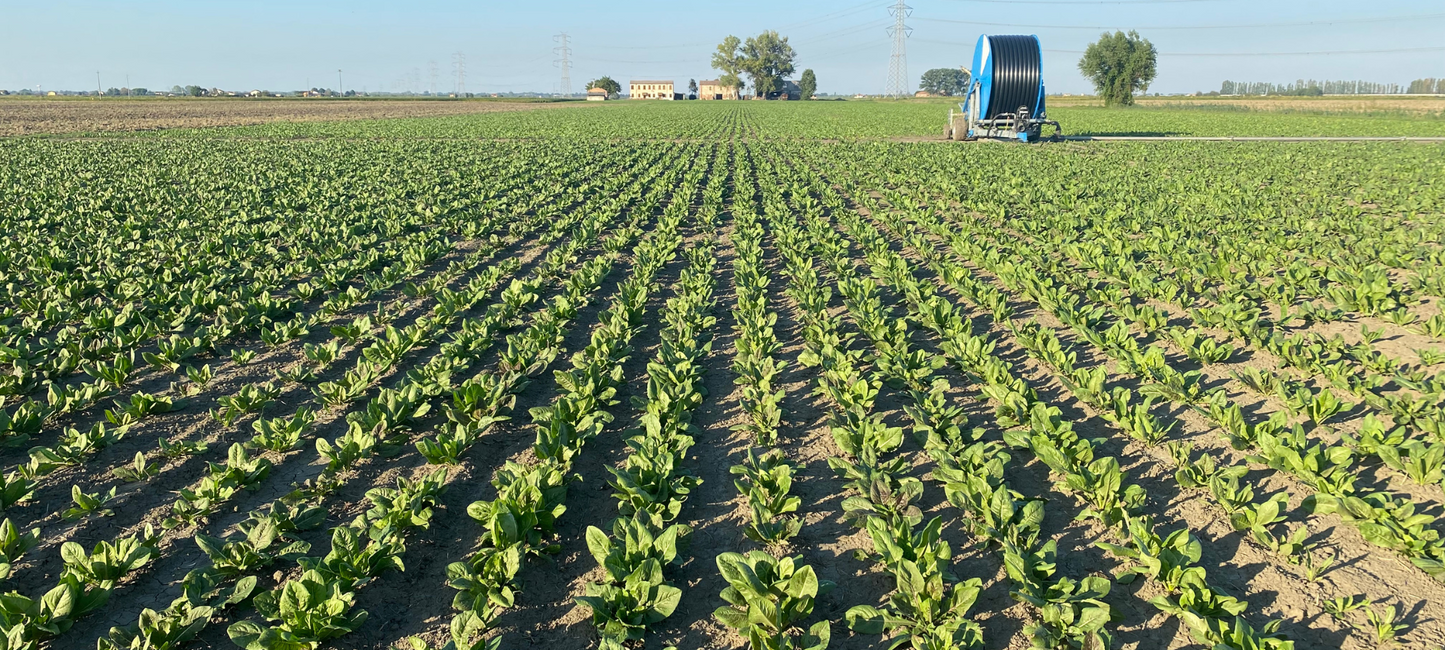
Irrigation is required especially during the first stages of planting, and in any case when necessary, with quantities of at least 200m³ of water/ha/intervention. The best method to use for an optimal water supply of the plant and for rationalizing water consumption is the use of micro-irrigation.
Harvesting
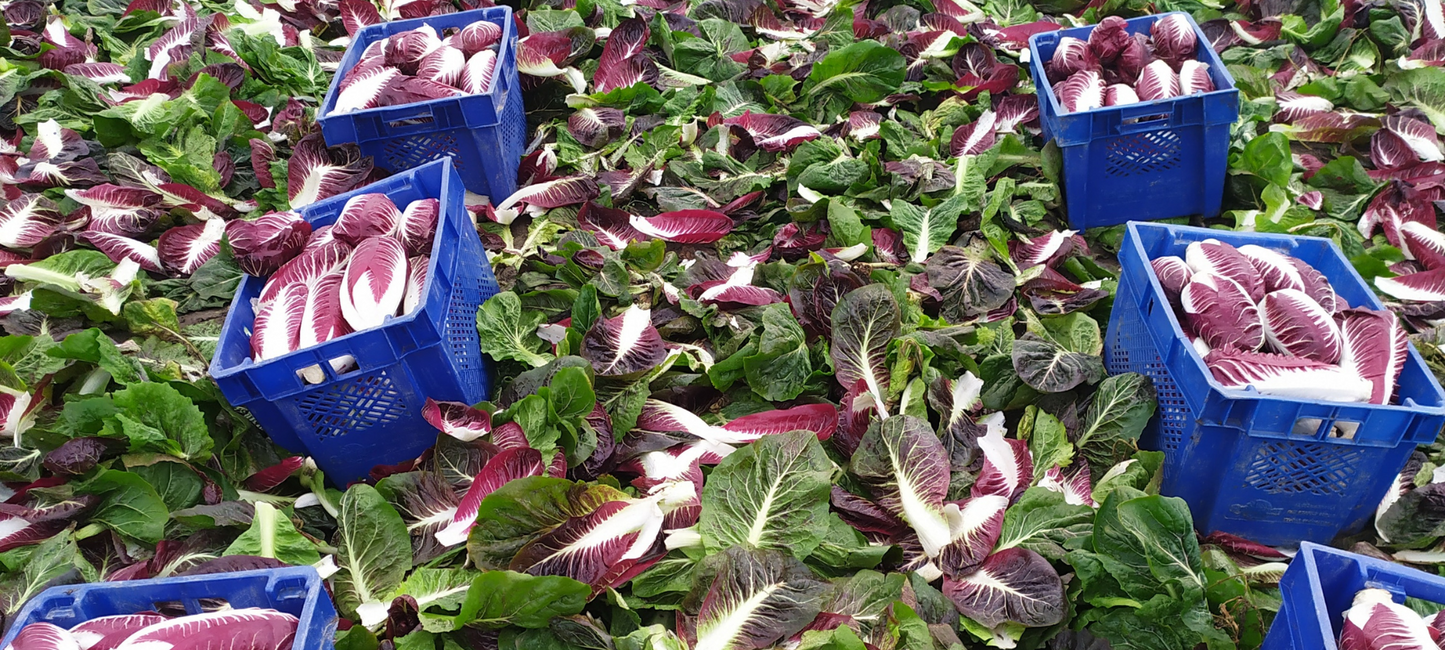
The harvest is carried out when the product has reached the characteristics of size, compactness and color typical of the type considered. The early types that ripen in the warmer periods may require, depending on the homogeneity of the crop, 2 or 3 harvesting operations. In most cases, 50-60% of the total can be obtained in the first intervention and 30% in the second. In the product intended for cold storage, the dressing is generally more limited. In these cases, leaves with non-optimal coloring are also left around the bud, as long as they are healthy, which serve to protect the ones underneath. To limit infections by pathogens, the root must be at least 3-4 cm long. The collected product is generally placed in plastic boxes or bins, which must be cleaned and possibly sanitized with chlorinated water, to avoid the spread of rotting agents.

